This guide explains Hyper Light Breaker's lock-on targeting mechanic and when to use it. The game's lock-on system, while helpful, isn't always the best approach.
How to Target Enemies
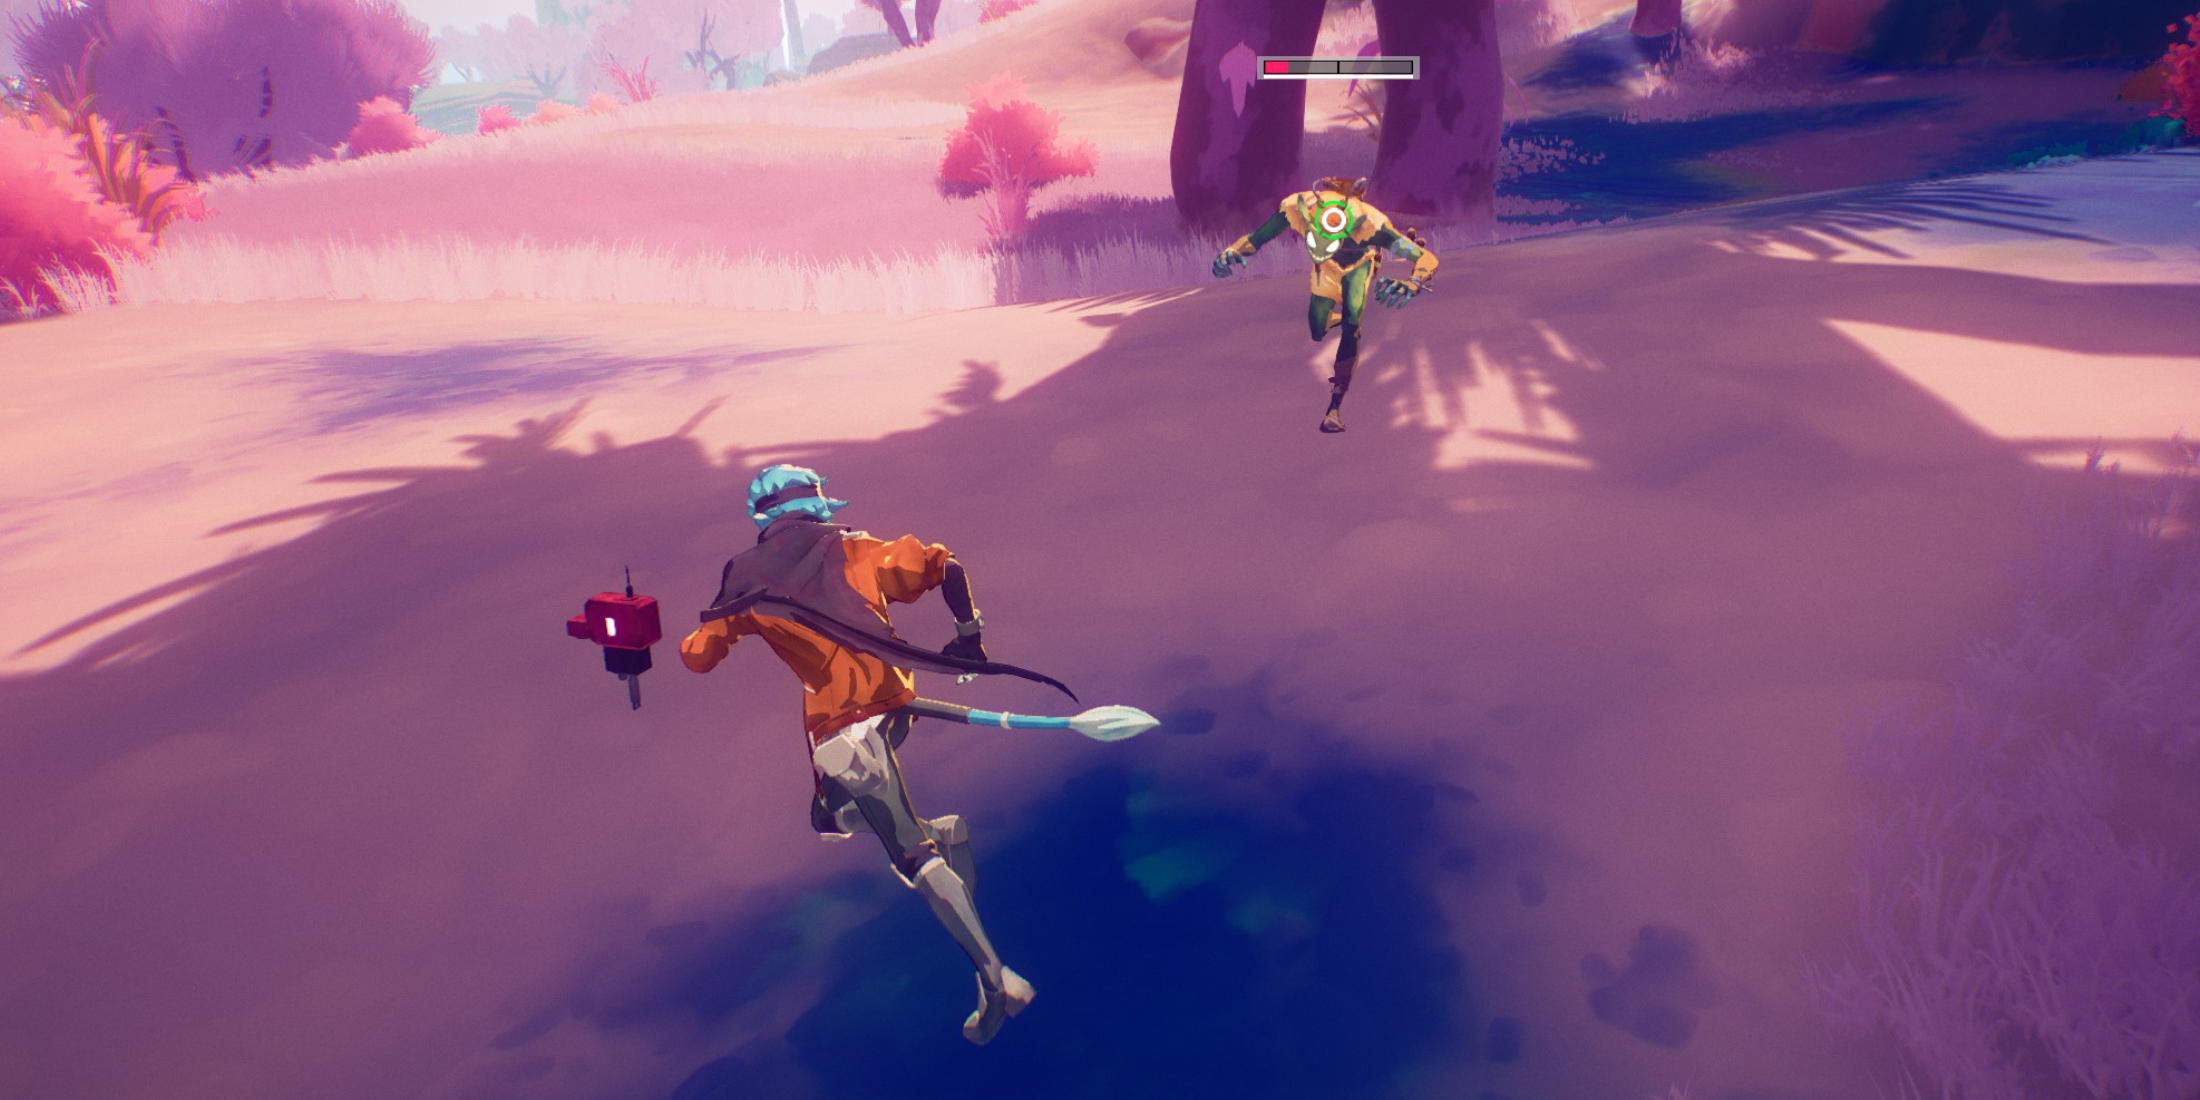 To lock onto an enemy, center your view on them and press the right analog stick (R3). The game will automatically select the closest target, unless it's surrounded by others. A reticle will appear, and the camera will zoom slightly. Line of sight isn't required; the enemy just needs to be visible and within range.
While locked on, your movement will tend to circle your target. Fast-moving enemies can make the camera spin wildly, potentially disrupting your actions. To switch targets, move the right analog stick left or right. Pressing R3 again cancels the lock-on, returning to the default free camera. The lock-on will also automatically disengage if you move too far from your target.
Lock-on vs. Free Camera
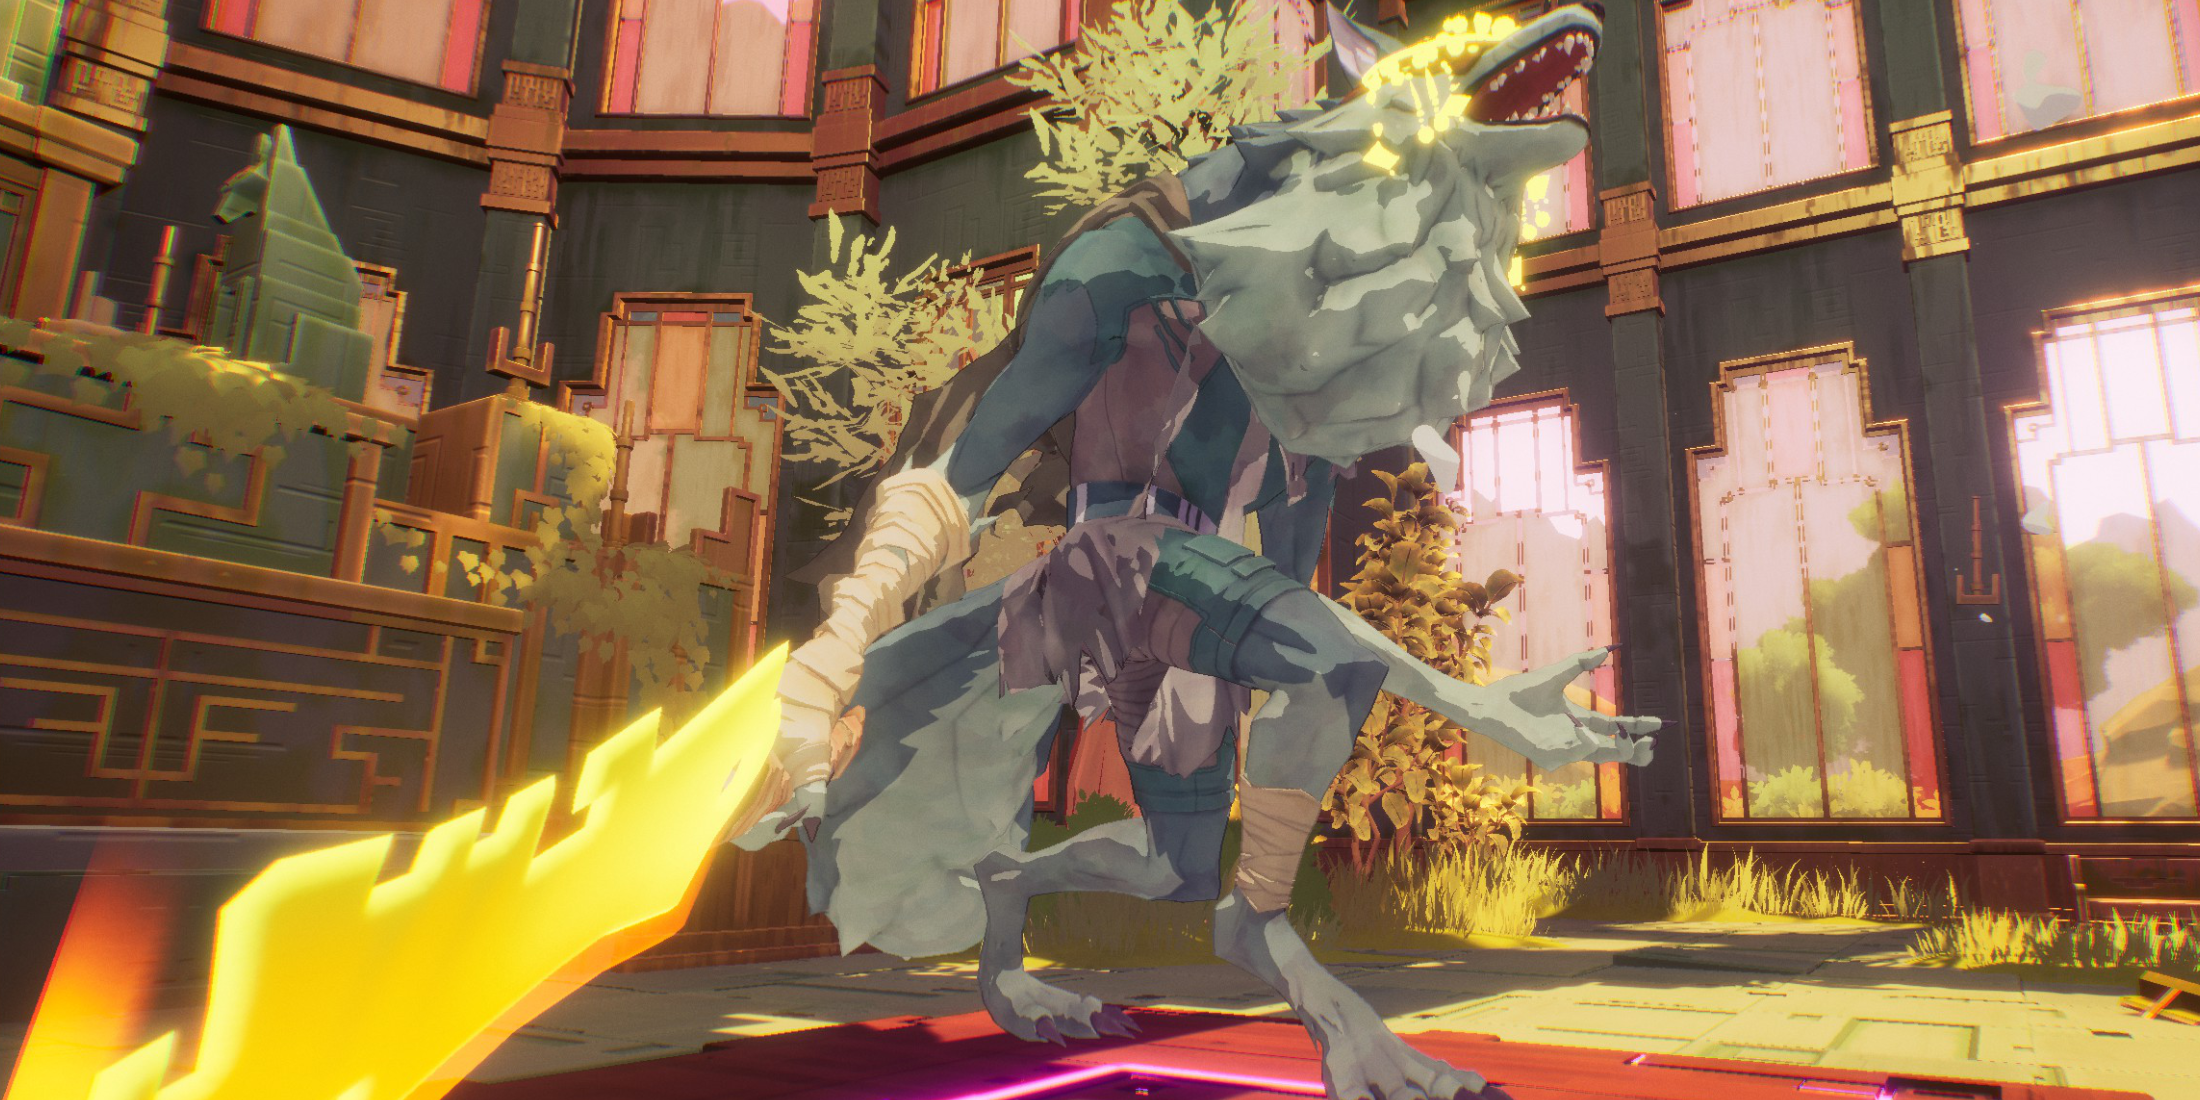 Lock-on is ideal for one-on-one fights, especially bosses or strong enemies (yellow health bars), after clearing weaker enemies. The focused camera leaves you vulnerable to attacks from unseen foes.
For multiple enemies or easily dispatched weaklings, free camera is superior. Lock-on restricts your vision and reaction time. Against mini-bosses or bosses, use lock-on once surrounding enemies are eliminated. If more enemies appear, disengage the lock-on, then re-engage once they're dealt with.
During Extraction events, for example, prioritize clearing regular enemies before locking onto the mini-boss for a focused attack. Maintaining free camera awareness until the coast is clear is crucial.

 Latest Downloads
 Downlaod



 Top News