Venturing into the mysterious and unforgiving landscapes of *Monster Hunter Wilds*, you'll face not only the biting cold but also the daunting challenge of confronting three furious Hirabami. These formidable creatures test your survival skills to the limit, making preparation and strategy crucial for success.
Recommended Videos
Table of contents
Monster Hunter Wilds Hirabami Boss Fight Guide
- Bring Large Dung Pods
- Use Heavy Slicing Pod Slinger Ammo
- Utilize Environmental Traps
- Aim for the Head
- Watch the Tail
How to Capture Hirabami in Monster Hunter Wilds
Monster Hunter Wilds Hirabami Boss Fight Guide
 Screenshot by The Escapist
Known Habitats – Iceshard Cliffs
Breakable Parts – Head and Tail
Recommended Elemental Attack – Fire
Effective Status Effects – Poison (3x), Sleep (3x), Paralysis (2x), Blastblight (2x), Stun (2x), Exhaust (2x)
Effective Items – Pitfall Trap, Shock Trap, Flash Pod
Bring Large Dung Pods
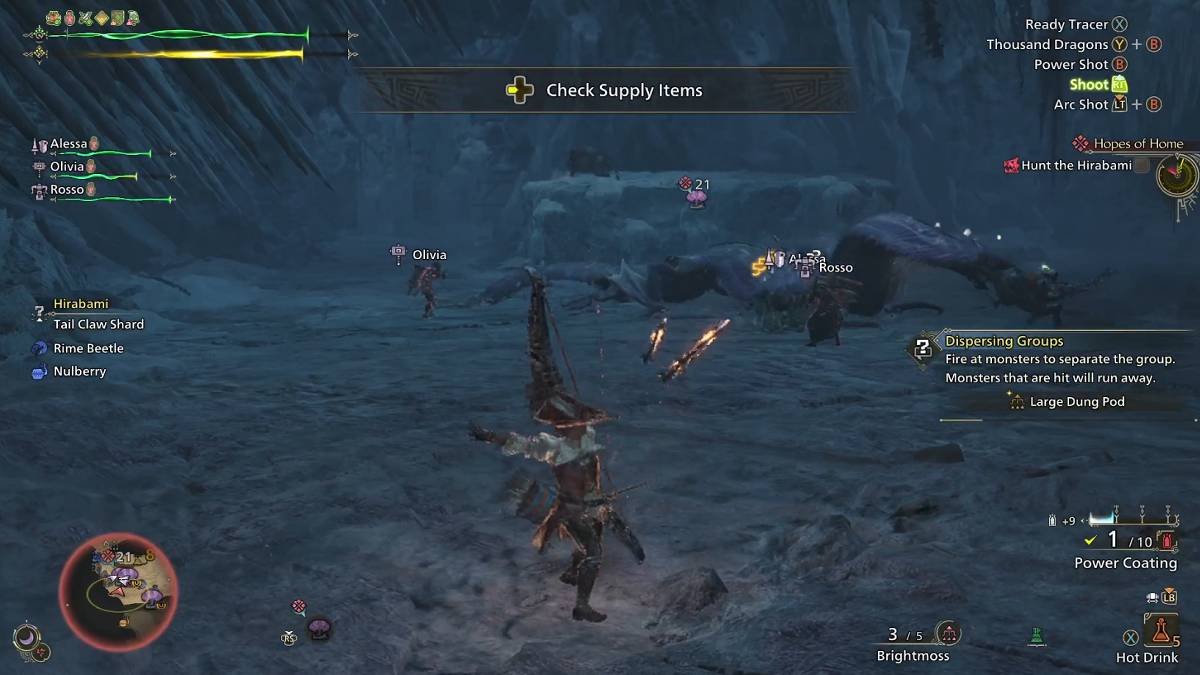
Hirabami presents a uniquely challenging boss fight in Monster Hunter Wilds. Unlike most monsters that prefer solitude, Hirabami thrive in groups, complicating your battle strategy. To manage this, equip yourself with Large Dung Pods. These invaluable tools can scatter the monsters, allowing you to tackle them individually and increase your chances of victory.
Use Heavy Slicing Pod Slinger Ammo
One of Hirabami's tactics is to hover in the air, making it particularly troublesome for melee weapon users. Ranged weapon wielders like Bow users will have an easier time, but for others, Heavy Slicing Pod Slinger ammo becomes essential. This ammo, fired from your Slinger, can bring Hirabami down to earth. If you're out of ammo, aim to sever the creature's tail, as it will drop a Tail Claw Shard, which can be transformed into Heavy Slicing Pod Slinger ammo.
Utilize Environmental Traps
The Hirabami's arena, the Iceshard Cliffs, is peppered with environmental traps that can turn the tide in your favor. You'll encounter Ice Spikes, Floating Rubble, and Brittle Ice Pillars. Dropping any of these onto Hirabami can stun and inflict substantial damage, providing a window for attack.
Aim for the Head
The head remains the prime target for inflicting maximum damage on Hirabami. Its penchant for staying aloft makes this a challenging task for melee fighters, but aiming for the neck when it descends can be effective. Avoid targeting the torso, as it is heavily armored and less susceptible to damage.
Watch the Tail
Hirabami's erratic movements demand constant vigilance. It frequently attempts to bite or spit at you, and its aerial dive attacks can be devastating if not dodged. Keep an eye on its head to predict these moves. Additionally, be cautious of its tail, which it uses like a hammer, capable of crushing you if you're not alert.
Related: All Monster Hunter Wilds Voice Actors
How to Capture Hirabami in Monster Hunter Wilds
 Screenshot by The Escapist
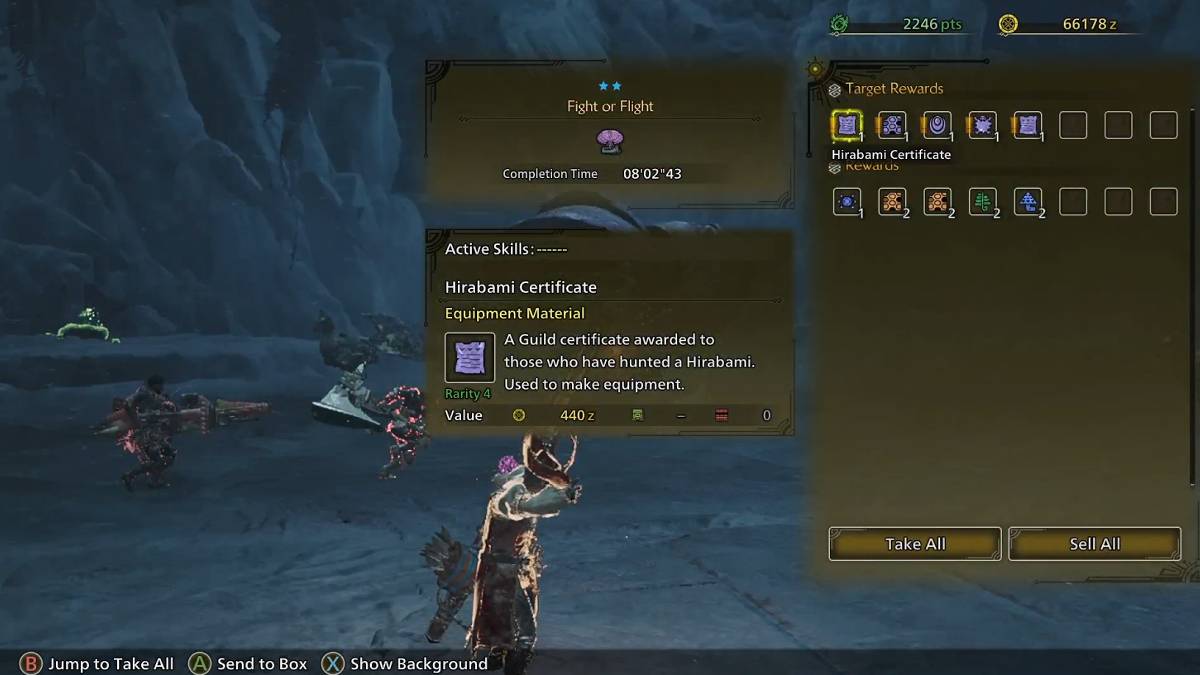
Capturing Hirabami in Monster Hunter Wilds involves reducing its health to 20 percent or less, signaled by a skull icon next to its marker on the mini-map. At this point, deploy either a Pitfall Trap or a Shock Trap to immobilize it. Swiftly follow up with a Tranquilizer to knock it out. Timing is critical; failure to act quickly could result in the monster's escape. Capturing Hirabami concludes the battle, yielding standard rewards, though it limits your opportunities to gather additional materials from breaking its weak spots.
This comprehensive guide equips you with the knowledge to conquer and capture Hirabami in Monster Hunter Wilds. Remember to stock up on Large Dung Pods and consider using the SOS feature to ease the fight.
Monster Hunter Wilds is available now on PlayStation, Xbox, and PC.
 Latest Downloads
 Downlaod


 Top News