Identifying Ghosts in Demonology can often feel like a shot in the dark if you're not making the most of the equipment at your disposal. To ensure you're fully equipped and ready to tackle any spectral encounter without relying on guesswork, dive into our comprehensive **Demonology equipment guide** below.
How to Buy and Use Equipment in Demonology
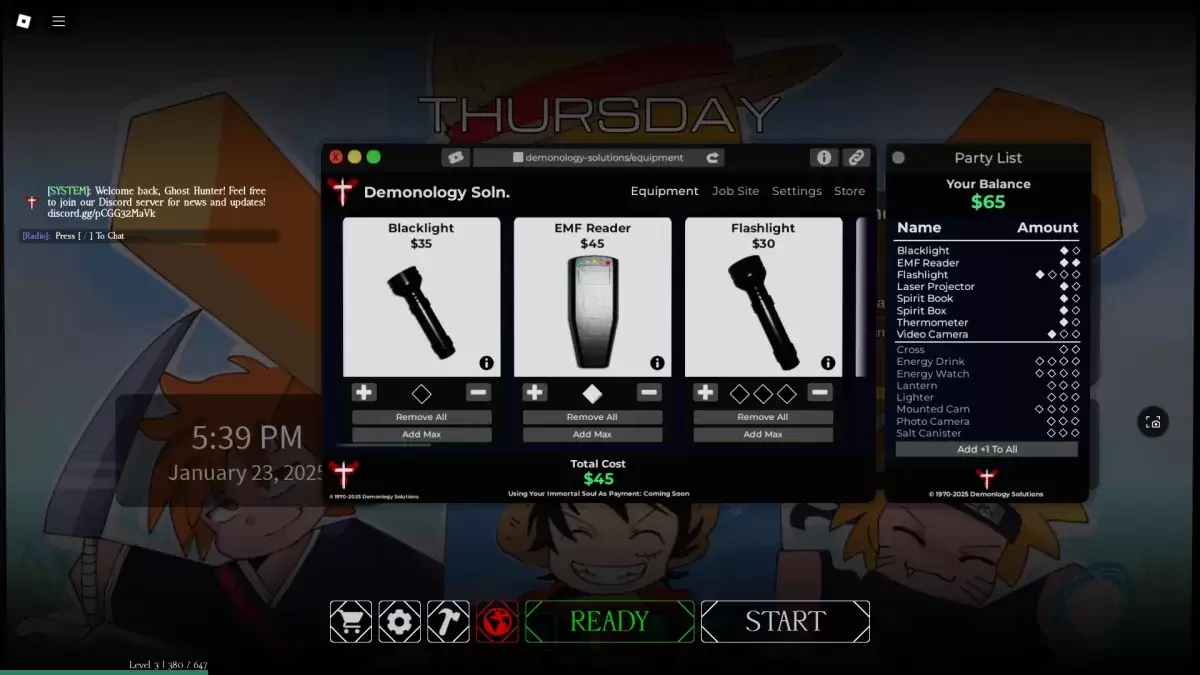 Equipment shop in the lobby
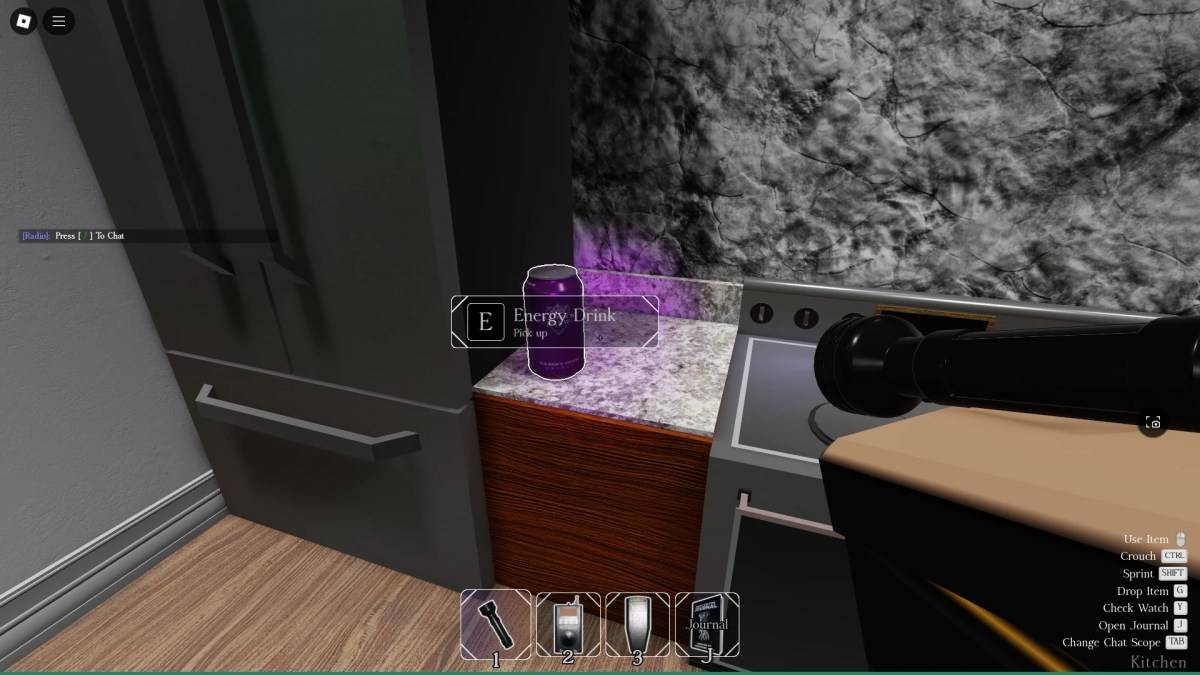 Energy Drink spawn in-game
Before you embark on your next Demonology run, you have the opportunity to **purchase additional equipment**. Keep in mind, the **items** you buy are **only available** for **the upcoming run**, so choose your investments wisely. Sometimes, you might stumble upon items that spawn within the investigation areas themselves. You can carry a maximum of three items at any time. To utilize a piece of equipment, simply press the **RMB (M2)** button. If you need to drop it, hit the **G** key.
Evidence Equipment in Demonology
Evidence equipment plays a crucial role in **identifying Ghosts** within Demonology. These tools are vital for **gathering the necessary evidence** to pinpoint the specific type of Ghost you're up against. For a deeper dive into this, check out our guide on how to identify Ghosts in Demonology. Additionally, you can use this equipment to **entice Ghosts to manifest**, perfect for capturing those elusive photos.
| Item | Use | Party limit | Price |
|---|---|---|---|
| **Blacklight** | • Activate the Blacklight to search for fingerprints, handprints, or footprints left by Ghosts. | 2 | $35 |
| **EMF Reader** | • Use the EMF Reader to detect Ghost activity nearby. It lights up and emits a loud sound when a Ghost is close. You can also throw it on the ground to use it as a perimeter scanner. | 2 | $45 |
| **Laser Projector** | • Turn on the Laser Projector and place it on the ground. It emits beams that highlight any Ghosts moving near it. | 2 | $65 |
| **Spirit Book** | • Leave the Spirit Book on the ground. If a Ghost that leaves Spirit Book evidence is nearby, it will pick up the book and write in it. | 2 | $40 |
| **Spirit Box** | • Use the Spirit Box to initiate dialogue with the Ghost. Though the Ghost may choose to ignore most of your prompts. | 2 | $50 |
| **Thermometer** | • The Thermometer shows the current temperature. Normal room temperature ranges from 15-19 degrees; deviations could indicate a Ghost's presence. | 2 | $30 |
| **Video Camera** | • Use the Video Camera to view Ghost Orbs. You can place it on the ground and monitor it via the PC at the spawn point. | 3 | $50 |
Optional Equipment in Demonology
Optional equipment in Demonology can be a lifesaver, aiding in survival and helping you meet secondary mission objectives. As with all equipment, there are limits on how many you can take into a run as a party.
| Item | Use | Party limit | Price |
|---|---|---|---|
| Flashlight | • The Flashlight illuminates a cone-shaped area in front of you. | 4 | $30 |
| Cross | • Use the Cross to repel a Ghost when it initiates a hunt. | 2 | $30 |
| Energy Drink | • Consume the Energy Drink to replenish some of your Energy. | 4 | $30 |
| Energy Watch | • Activate the Energy Watch to monitor your remaining Energy levels. | 4 | $50 |
| Lantern | • Holding the Lantern prevents your Energy from draining passively. | 3 | $15 |
| Lighter | • The Lighter can be used to ignite the Lantern and candles or as a light source. | 3 | $10 |
| Mounted Cam | • Similar to the Video Camera, but it can be used while holding other items. Monitor it via the PC at the spawn point. | 4 | $50 |
| Photo Camera | • Use the Photo Camera to capture images of Ghosts and other objects, useful for completing optional objectives. | 3 | $40 |
| Salt Canister | • Lines of Salt can deter some Ghosts and help in obtaining handprint evidence. | 3 | $15 |
This wraps up everything you need to know about using equipment in Demonology. For more insights into Roblox games, explore our dedicated Roblox guides section on Escapist.

 Latest Downloads
 Downlaod


 Top News