Ready to conquer the vast expanses of *Dead Sails* without meeting your untimely demise? You're not alone in this quest. Beyond the gear you acquire and the comrades you choose, selecting the right class is crucial. Dive into my **ultimate *Dead Rails* class tier list** to bypass the tedious trial-and-error phase. I've done the legwork so you can jump straight into the action, steering clear of any unnecessary hassle.
Recommended Videos
Table of Contents
- All Dead Rails Class Tier List
- S Tier Dead Rails Classes
- A Tier Dead Rails Classes
- B Tier Dead Rails Classes
- C Tier Dead Rails Classes
- D Tier Dead Rails Classes
All Dead Rails Class Tier List
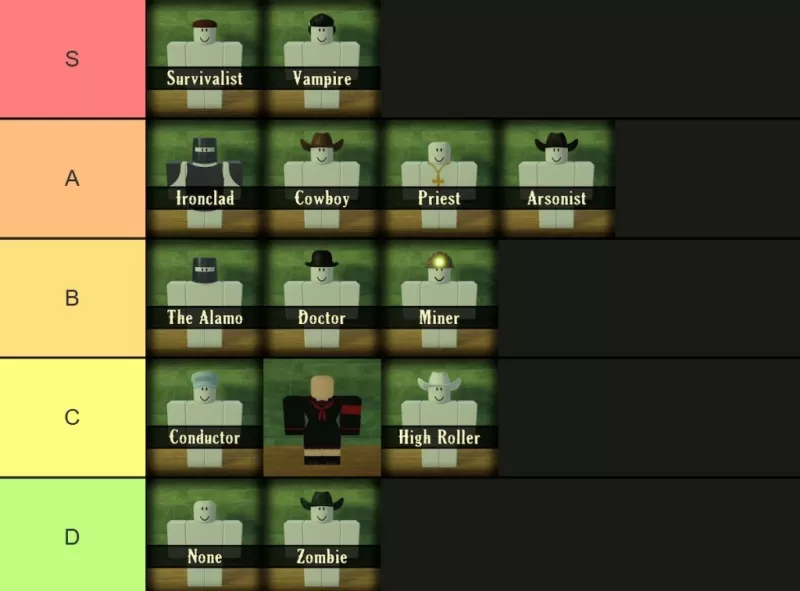
I'm well aware that my Dead Rails class tier list might stir up some controversy, but let's face it—opinions will differ. You simply can't go wrong with the Vampire, even after numerous updates. Meanwhile, the Survivalist has surged ahead in recent weeks. However, the Zombie class still lags behind, frustratingly unable to use Snake Oil. What's the deal with that? While teamwork plays a role, it's not my primary focus here. At the end of the day, it's all about enjoying the game with your friends, not just about min-maxing every detail.
S Tier Dead Rails Classes
It's no surprise that the S Tier is dominated by classes with unmatched damage output. The Survivalist and Vampire stand out as the premier choices, though the Ironclad does have its merits. Here's a closer look at the top contenders:
| **Name** | **Cost** | **Info** |
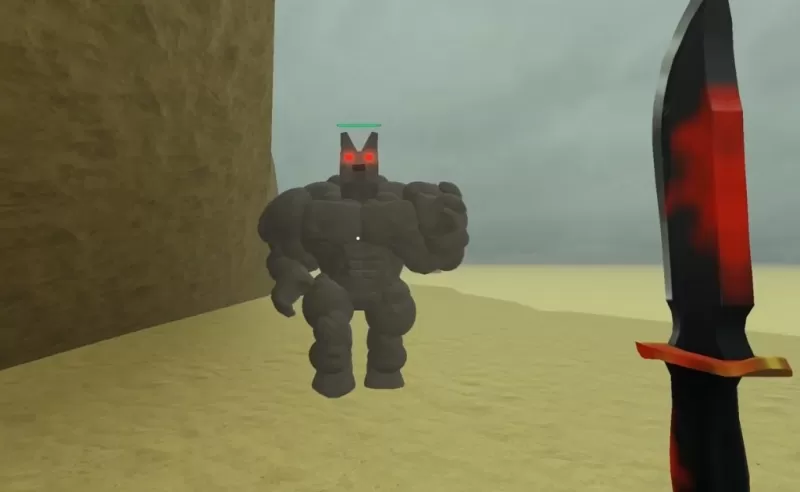
| Survivalist | 75 | The Survivalist starts with a Tomahawk and becomes even more lethal as your health diminishes. Even at full health, you outdamage most others, though this advantage might be nerfed soon. It excels against tough enemies that don't go down easily, offering a punch that other classes struggle to match. |
| Vampire | 75 | The Vampire thrives on speed and aggression, outpacing horses and sprinting zombies alike. Its melee attacks are devastating, often taking down zombies in three hits. However, sunlight is a weakness, necessitating a shadowy approach. Fortunately, the Vampire Knife you spawn with heals you with each strike, making survival a matter of maintaining momentum. |
A Tier Dead Rails Classes
In the A Tier, you'll find classes that are still excellent but not quite as durable for solo survival. Their damage output and starting gear remain strong, though they're better suited for team play. Here, the Ironclad stands out with the most potential:
| **Name** | **Cost** | **Info** |
| Ironclad | 100 | The Ironclad comes equipped with full armor, making you significantly harder to kill, albeit at the cost of 10% slower movement. It's not ideal for solo runs, but in a team, shotguns complement its close-quarters combat style perfectly. |
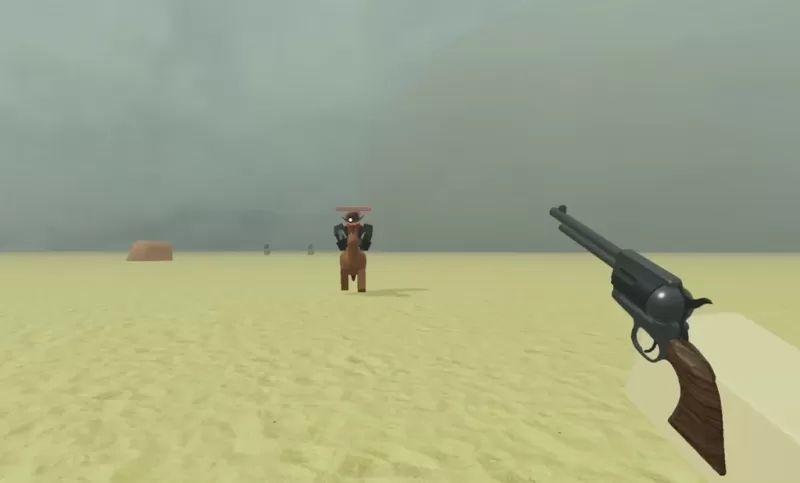
| Cowboy | 50 | The Cowboy starts strong with a revolver, ample ammo, and a horse, easing early-game encounters and providing the mobility needed to survive chaotic situations, particularly during Blood Moon nights. With the Game Pass, selling the revolver can fund an even better initial loadout. |
| Priest | 75 | The Priest wields Crucifixes and Holy Water, effective against enemies and immune to lightning, making storms irrelevant. While not suited for solo play, their throwables significantly bolster team efforts, offering vital support. |
| Arsonist | 20 | The Arsonist excels in chaotic environments, equipped with Molotovs and enhanced fire damage for rapid group takedowns. It's ideal for smaller, controlled areas, and having a horse enhances its hit-and-run tactics. |
B Tier Dead Rails Classes
B Tier classes are specialists, shining in specific scenarios. The Doctor, for example, offers great value and support at a low cost, though its damage output is lacking. Here's a look at these specialized roles:
| **Name** | **Cost** | **Info** |
| The Alamo | 50 | The Alamo is designed for fortification, starting with Sheet Metal, Barbed Wire, and a helmet, perfect for securing the Train early on. It's not flashy, but it's highly effective under pressure. |
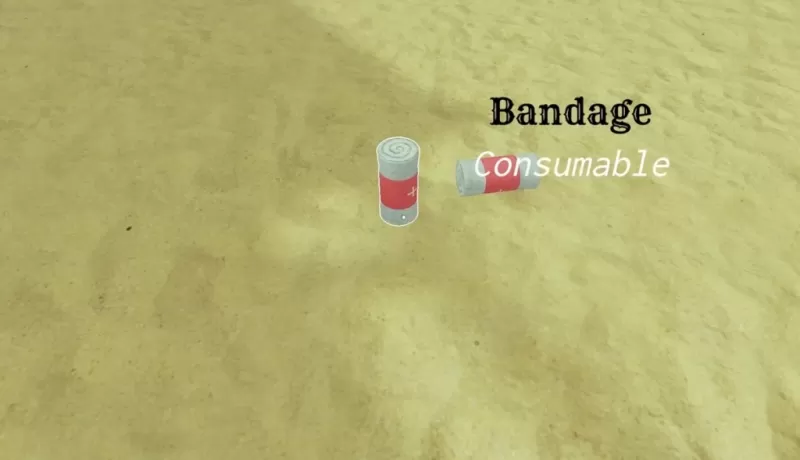
| Doctor | 15 | The Doctor is essential for team revival, equipped with healing supplies and the ability to bring teammates back at half their own health cost. Selling bandages and Snake Oil can net an early $40 boost, making it a valuable asset in group play. |
| Miner | 15 | The Miner is tailored for resource gathering and nighttime exploration, featuring a helmet for visibility and a Pickaxe for quick ore extraction. While not combat-focused, its utility is invaluable for team resource management. |
C Tier Dead Rails Classes
C Tier classes offer utility but are less effective for solo play. The Conductor, for instance, is almost essential for larger groups, while the Horse class adds a humorous twist to gameplay:
| **Name** | **Cost** | **Info** |
| Conductor | 50 | The Conductor drives the Train to a top speed of 84, crucial for quick escapes. Lacking a melee weapon at spawn, they need protection from teammates. Fortunately, they no longer suffer health penalties. |
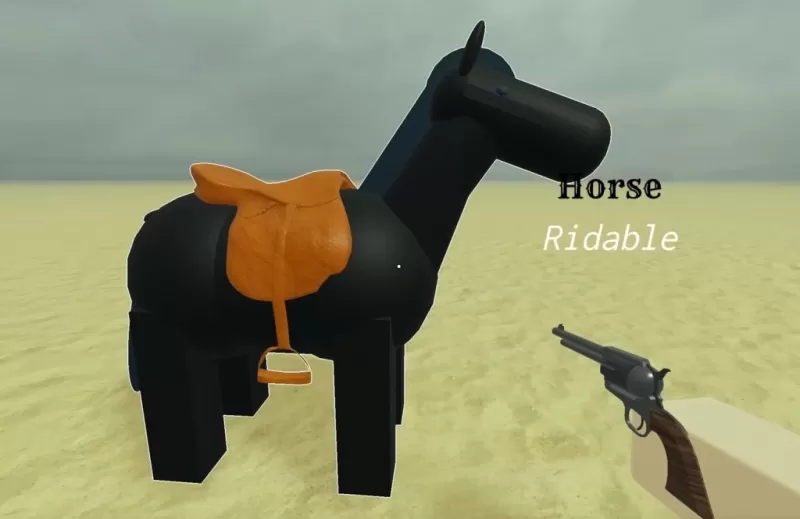
| Horse | Unlockable through the Horsing Around gamemode | The Horse Class transforms you into a horse, unlocked via the 2025 April Fools event. With standard horse stats, it's more of a novelty, with challenges navigating tight spaces and the inability to ride other horses or sit on the train. |
| High Roller | 50 | The High Roller earns 1.5x money from bags, ideal for a quick cash boost but at the risk of attracting lightning during storms. It's a high-risk, high-reward choice for those looking to gear up fast. |
D Tier Dead Rails Classes
The D Tier marks the bottom of the barrel, with the default class offering no perks or drawbacks, perfect for beginners. The Zombie class, on the other hand, remains disappointingly weak:
| **Name** | **Cost** | **Info** |
| None | Free | The None class is the default, equipped with just a shovel and reliant on scavenging. It's a blank slate, ideal for learning the game and saving bonds before committing to a specific class. |
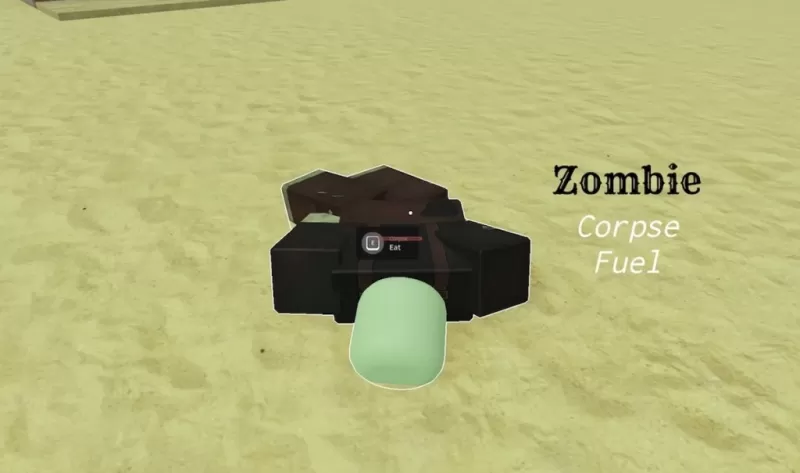
| Zombie | 75 | The Zombie feeds on corpses to heal and can move stealthily among enemies. However, without access to Bandages or Snake Oil, it remains a weak choice despite its sustainability in corpse-rich areas. |
That concludes my Dead Rails class tier list. Use this guide to break records and dominate the mobs with ease. Don't forget to check out our Dead Rails codes and learn about Dead Rails challenges. Stay tuned for what the next update might bring!
 Latest Downloads
 Downlaod


 Top News