The ROG Ally made a splash in 2023 as a compelling alternative to the Steam Deck, boasting a broader game library thanks to its Windows operating system. The following year, the ROG Ally X hit the market, enhancing the device with upgraded internals and improved ergonomics, making it even more comfortable to hold with enhanced cooling capabilities. While the ROG Ally's primary allure is its portability, it's also fantastic to have the flexibility to enjoy your games on a larger screen, whether it's a TV or a gaming monitor. Both ROG Ally models support connection to external displays, allowing you to immerse yourself in your gaming experience on a bigger screen. Below, you'll find a comprehensive guide on how to connect your ROG Ally to a TV or monitor, complete with step-by-step instructions and our top recommendations.
How to Connect With an Adapter
Connecting your ROG Ally to a TV or monitor can be achieved through various methods, but using an adapter is a straightforward and space-efficient solution. You can choose from a compact dongle-style adapter, a direct cable, or the official ROG Gaming Charger Dock, each offering its own set of advantages.
What You'll Need
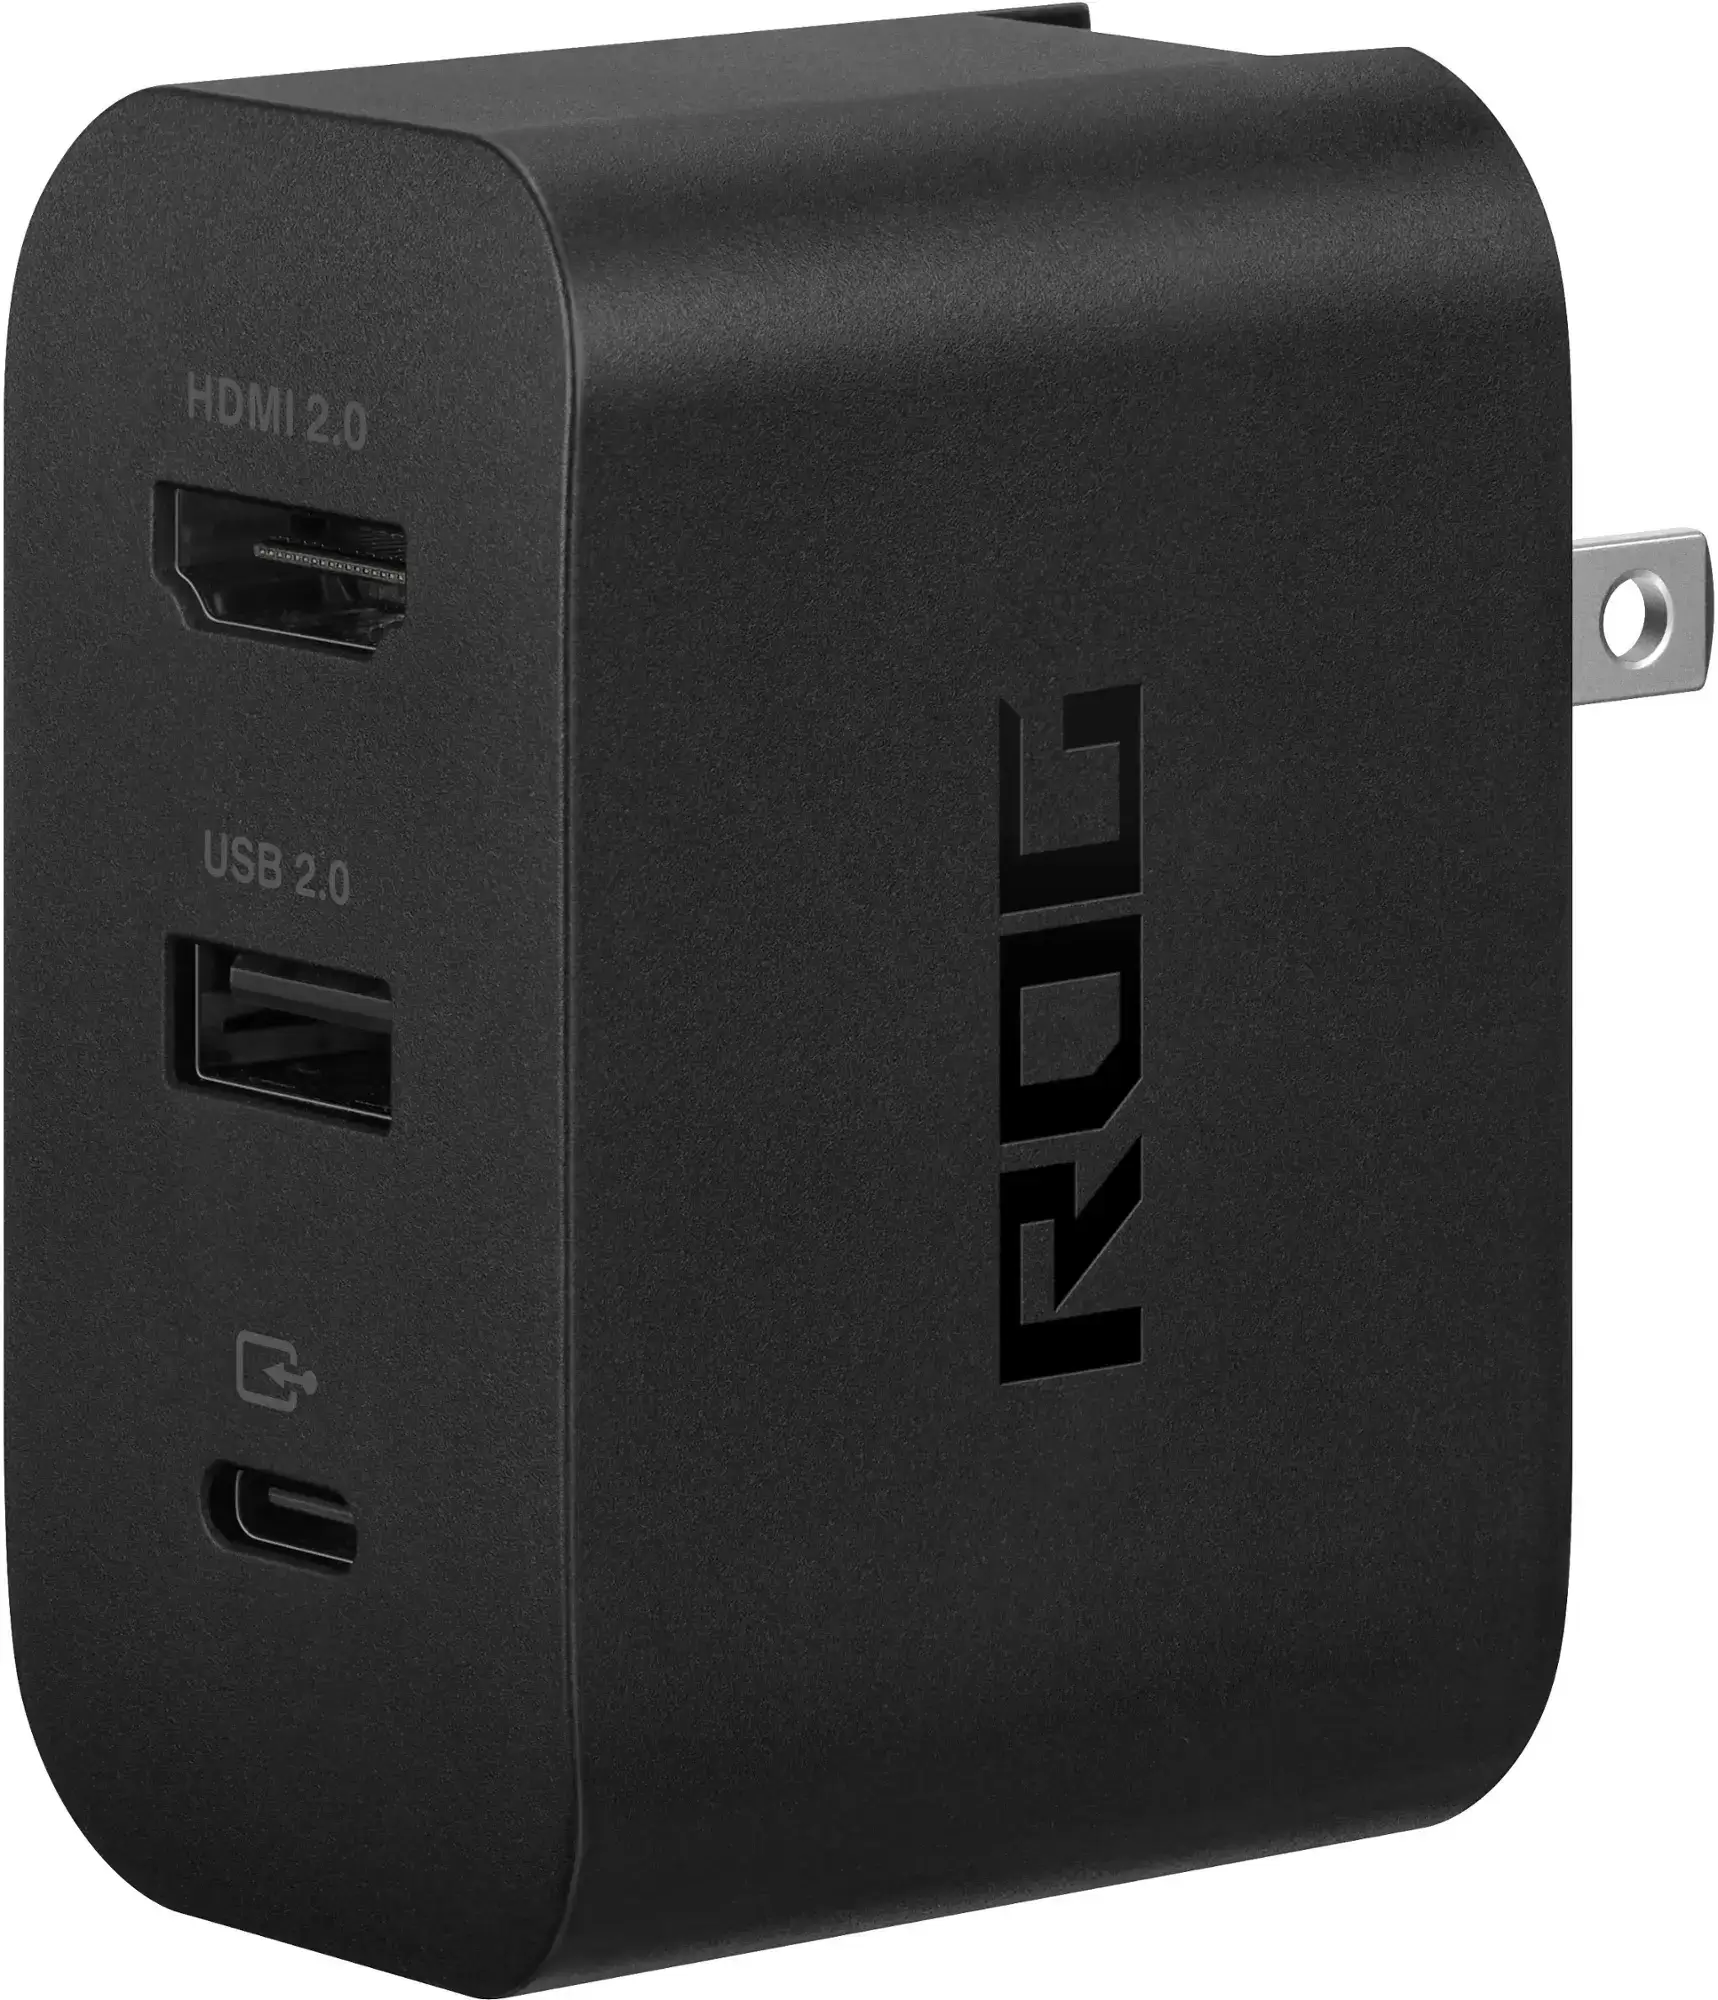
ASUS ROG 65W Charger Dock
The ASUS ROG 65W Charger Dock is an excellent choice for connecting your ROG Ally to a TV, as it not only supports HDMI 2.0 but also features USB Type-A and USB Type-C ports. This dock is perfect for those looking to minimize clutter, as it doubles as a charger for your device. All you need is a USB-C and HDMI cable to get started. The Charger Dock also includes a USB-A port, allowing you to connect peripherals like a mouse or keyboard.
Alternatively, you can use a third-party USB-C to HDMI adapter, which connects directly to the ROG Ally's USB-C port. From there, simply attach an HDMI cable to the adapter and your TV or monitor. For a more streamlined approach, consider a USB-C to HDMI cable that connects directly from your ROG Ally to your display without any additional components.
Some USB-C to HDMI adapters come with a passthrough USB-C port, enabling you to charge your ROG Ally while it's connected to an external display. If your adapter has this feature, you'll need an additional USB-C cable and your power adapter to keep the internal battery charged during gameplay.
How to Connect: Step-by-Step Instructions
- Plug a USB-C to HDMI adapter (or cable) into the ROG Ally's USB-C port on the top of the enclosure. If using the ROG Gaming Charger Dock, connect one end of a USB-C cable to the ROG Ally's USB-C port and the other end to the USB-C charging port on the Charger Dock.
- Connect an HDMI cable to one end of the adapter (or Charger Dock) and plug the other end into an available HDMI port on your TV or monitor. If using a direct USB-C to HDMI cable, simply plug the HDMI end into your TV or monitor.
- (Optional) If your USB-C adapter includes a passthrough USB-C port for charging, connect your ROG Ally's power adapter to the passthrough USB-C port to provide power.
- Power on the ROG Ally; it should automatically detect and output the video signal.
- Switch your input on the TV or monitor to the correct HDMI input to view your ROG Ally's display.
How to Connect With a Docking Station
For a setup reminiscent of the Nintendo Switch, consider using a docking station. While the ROG Ally doesn't have an official docking station beyond the ROG Gaming Charger Dock, numerous third-party options are available. These docking stations allow you to place your ROG Ally into a stand while connecting to your TV or monitor and charging simultaneously.
What You'll Need
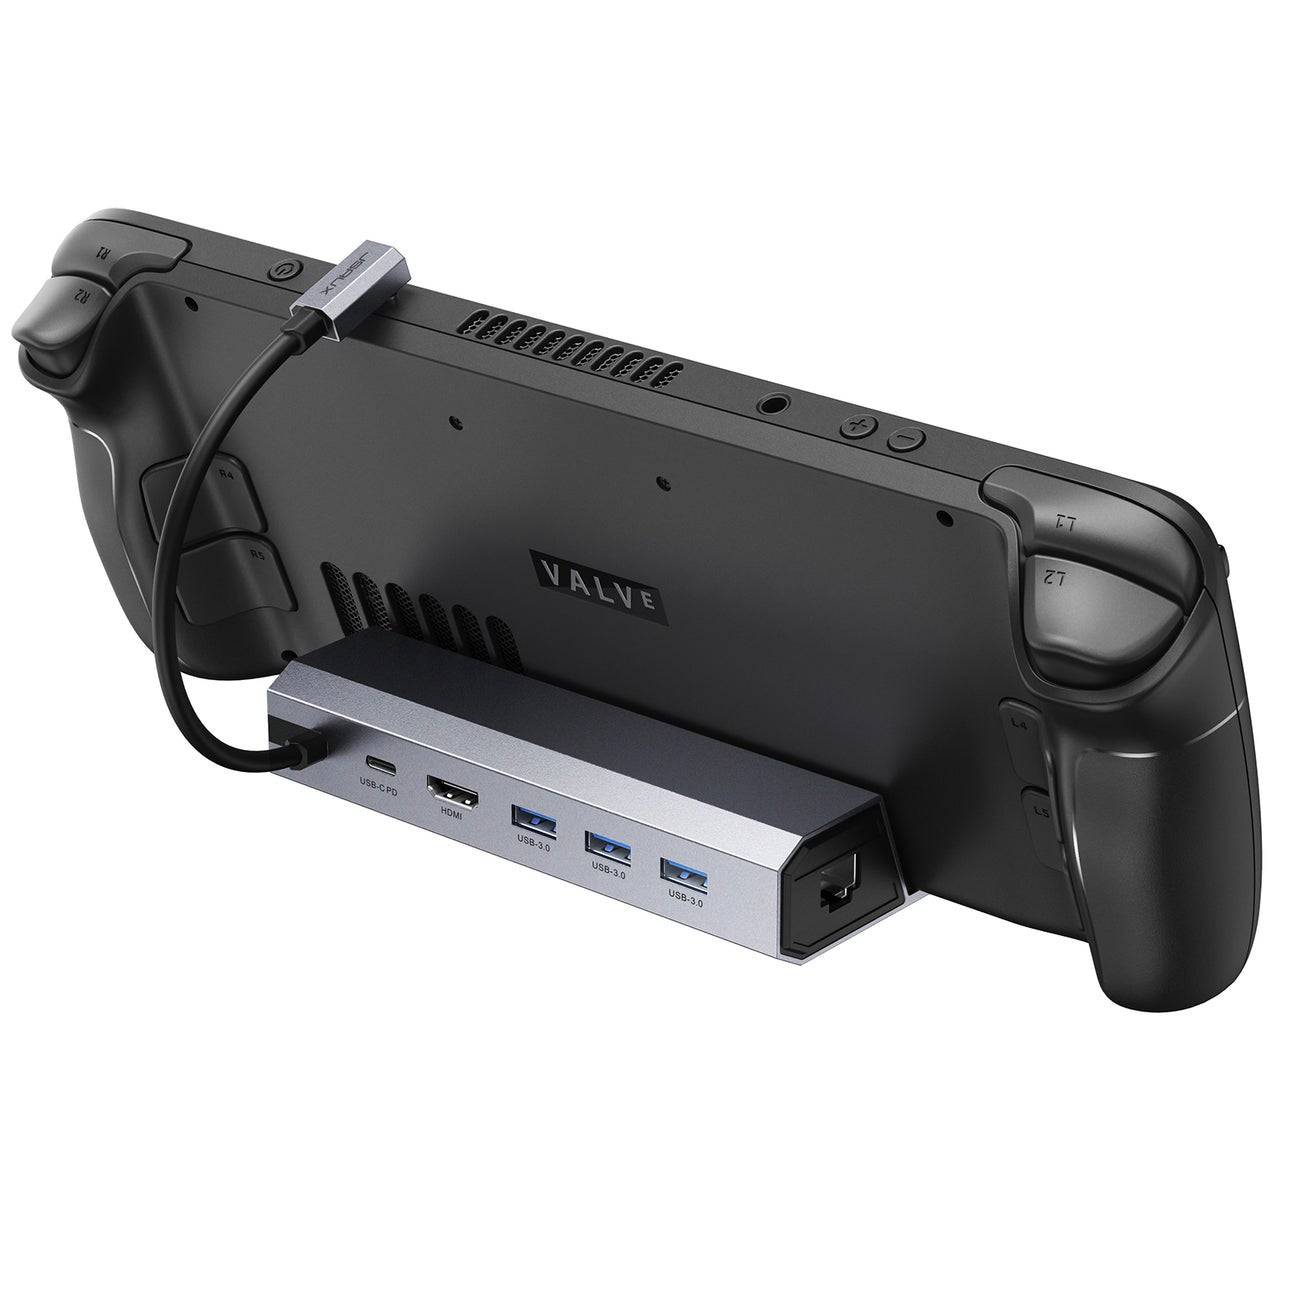
JSAUX Docking Station HB0603
The JSAUX Docking Station HB0603 is our top pick, offering 100 watts of power for fast charging and a variety of ports. This lightweight and compact dock also serves as a stand, making it an ideal choice for those seeking a robust solution. Basic docks for the ROG Ally typically include an HDMI port and a USB-C passthrough charging port. For more advanced setups, consider docks with additional USB ports for peripherals, external hard drive support, Ethernet ports for a stable wired connection, SD card slots for expanded memory, and even a Display Port for connecting an additional display. Smaller, portable docks are perfect for travel, allowing you to connect to larger displays on the go. Many docks compatible with the Steam Deck are also suitable for the ROG Ally.
How to Connect: Step-by-Step Instructions
- Place your ROG Ally into the dock.
- Connect the USB-C power cord to the ROG Ally's USB-C port on the top of the enclosure.
- Connect your ROG Ally's power adapter to the USB-C charging port on the dock.
- Connect an HDMI cable to the HDMI port on the dock, with the other end connected to an available HDMI port on your TV or monitor.
- Power on the ROG Ally; it should automatically detect and output the video signal.
- Switch your input on the TV or monitor to the correct HDMI input to view your ROG Ally's display.
You'll Also Need a Controller
While you can connect a mouse and keyboard to your ROG Ally's docking solution, using a wireless controller often provides the most comfortable gaming experience on a larger display. The ROG Ally is compatible with any Bluetooth-enabled gaming controller. Below are our top recommendations for controllers that work seamlessly with the ROG Ally:
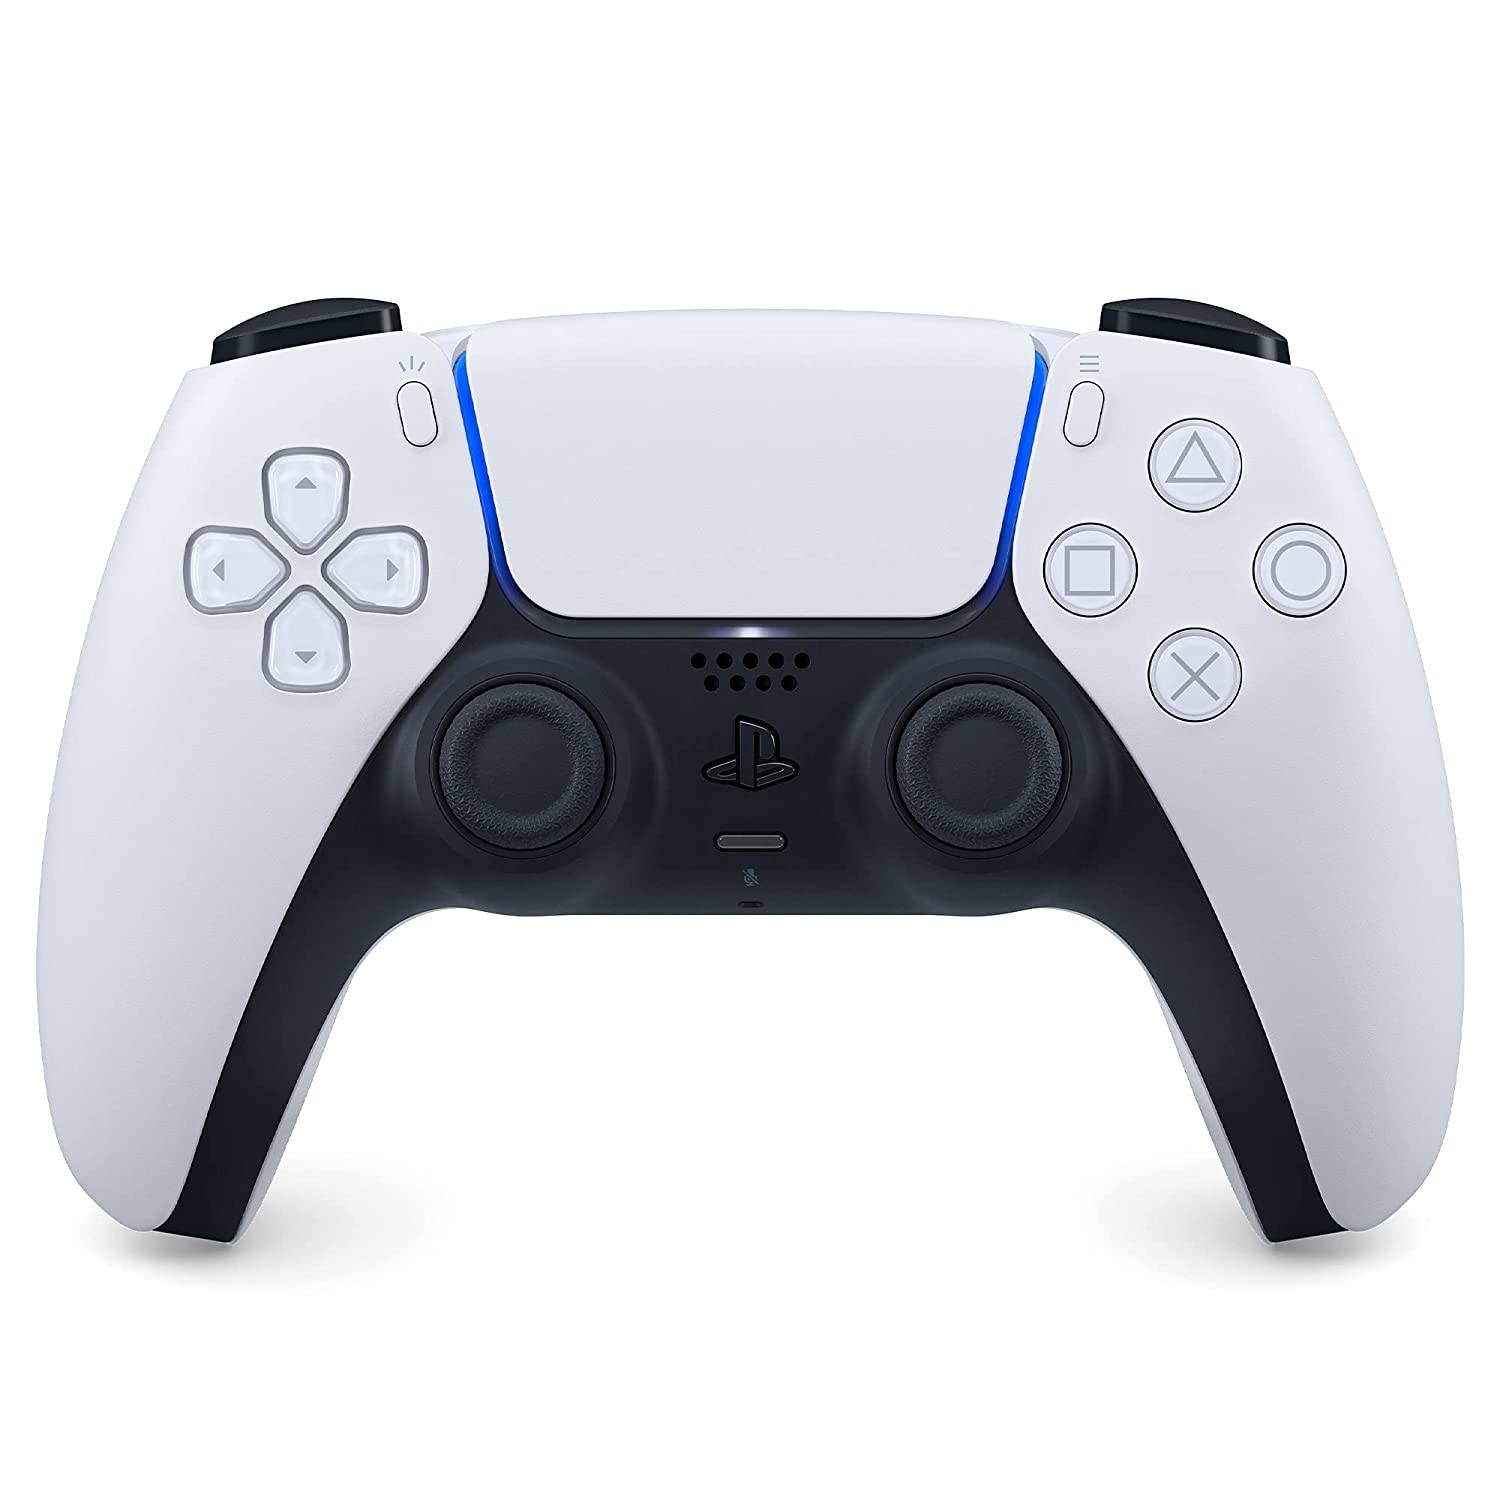
Sony DualSense
The Sony DualSense is our top pick, offering exceptional comfort and performance. Available at Amazon, Best Buy, and Target.
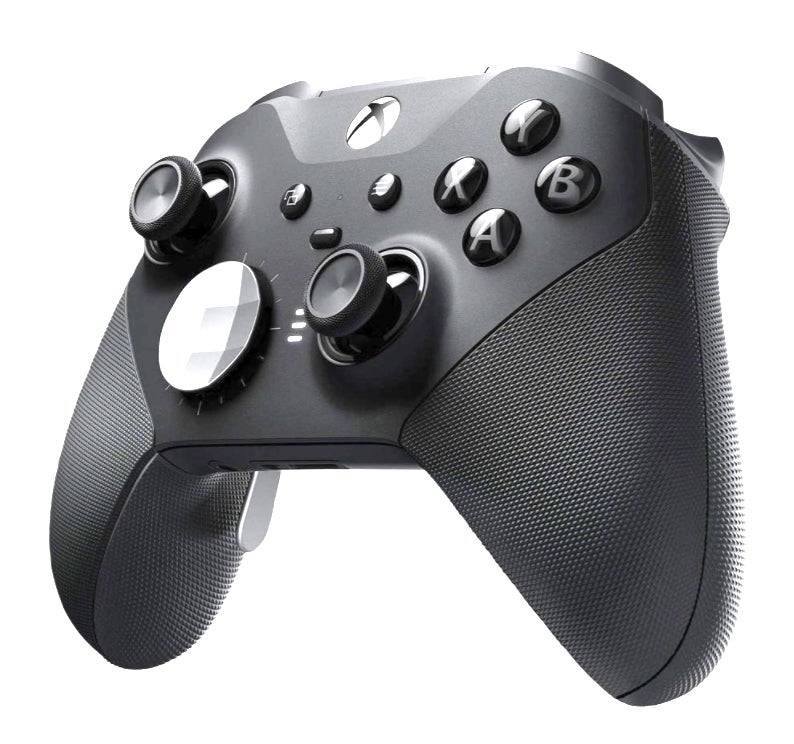
Xbox Elite Series 2 Controller
The Xbox Elite Series 2 Controller is another excellent choice, known for its customizable features. Available at Amazon and Best Buy.
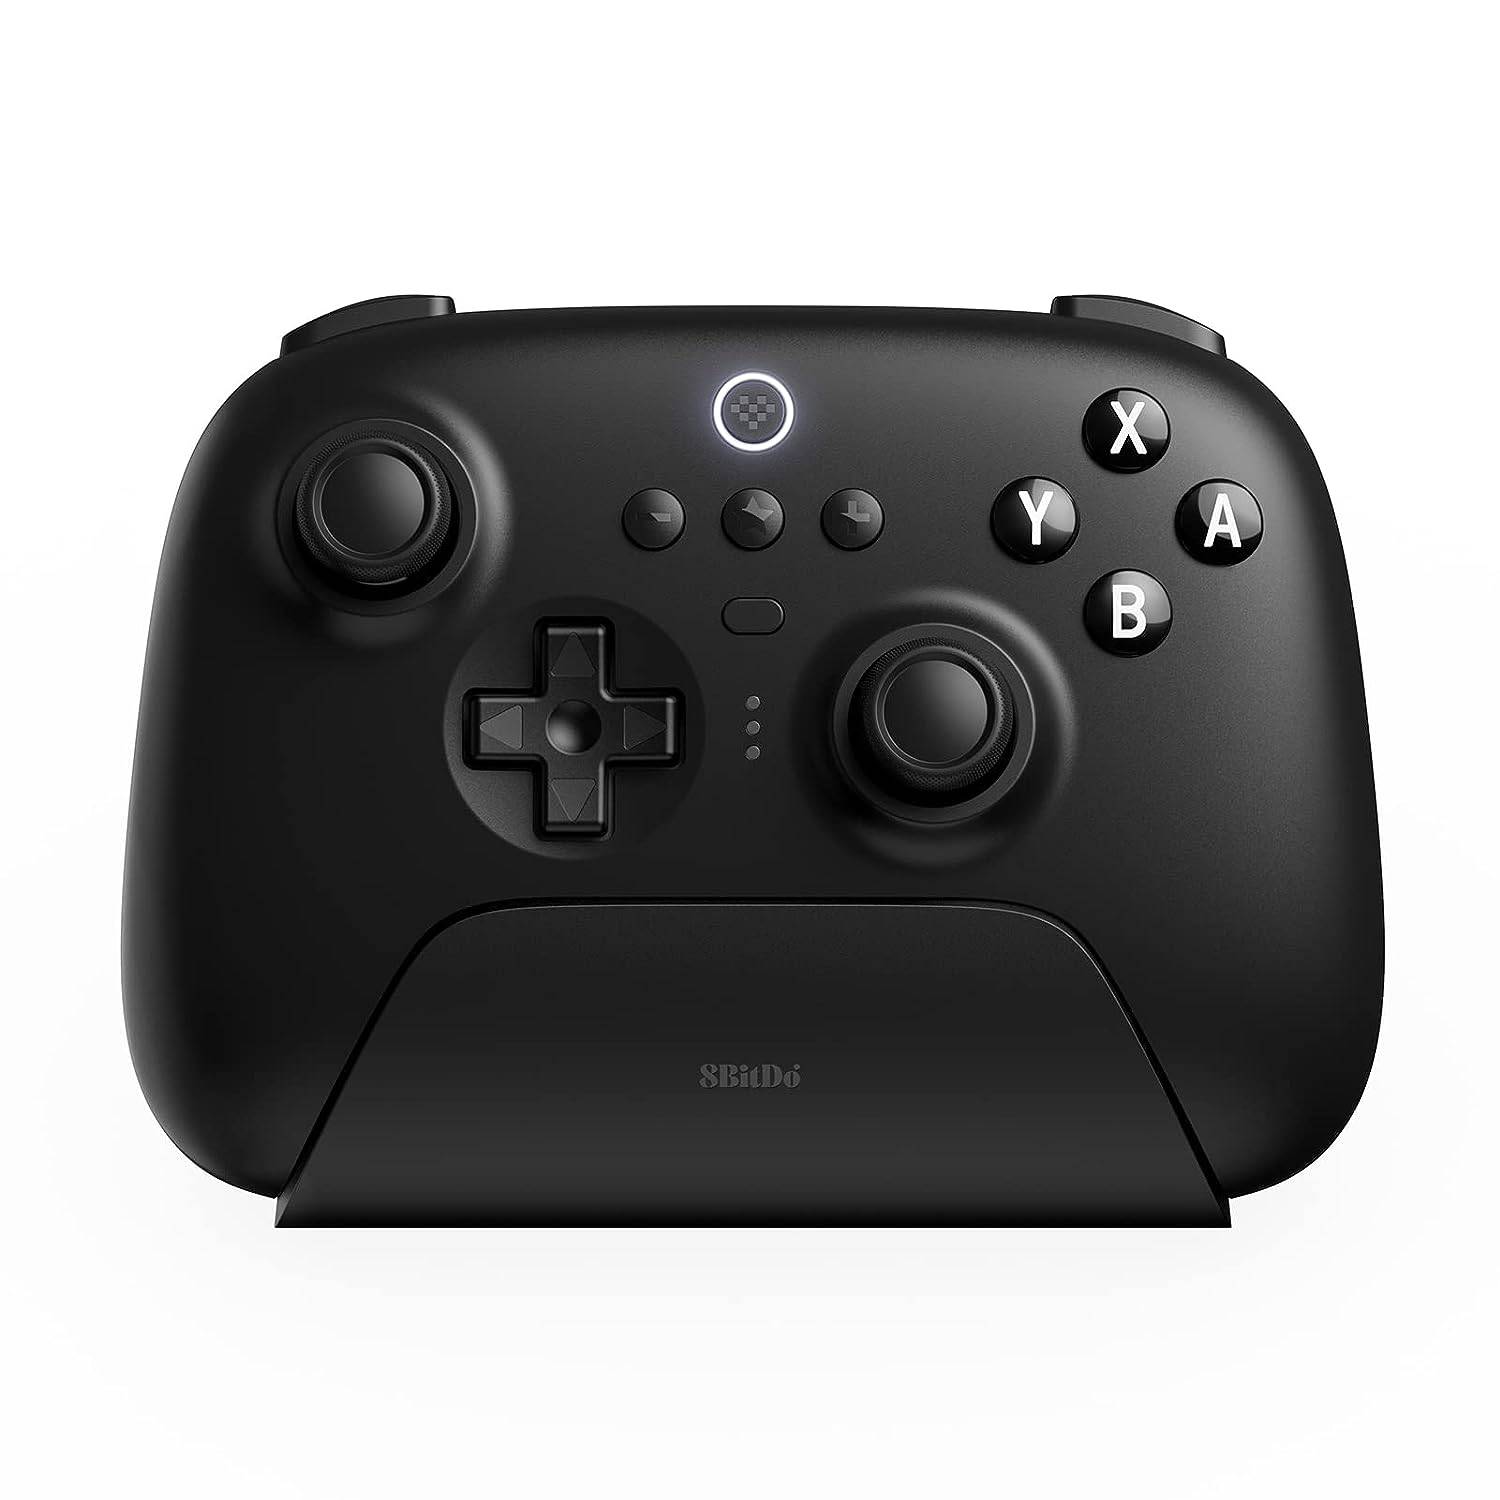
8BitDo Ultimate Controller
The 8BitDo Ultimate Controller offers a versatile and affordable option. Available at Amazon.
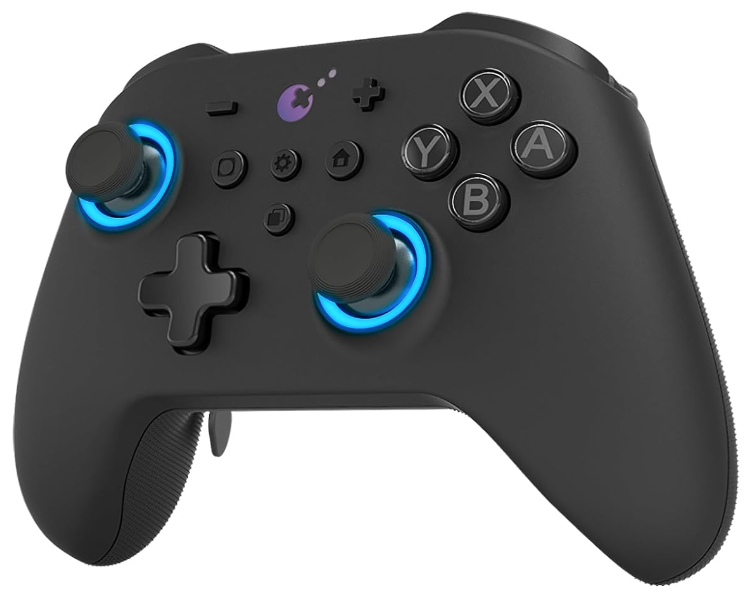
GuliKit KingKong 3 Max Controller
The GuliKit KingKong 3 Max Controller is perfect for those seeking a high-quality, responsive controller. Available at Amazon.

PowerA Wireless GameCube Style Controller
For a nostalgic feel, the PowerA Wireless GameCube Style Controller is a great choice. Available at Amazon.
These recommendations include first-party options like the PS5's DualSense, the Xbox Wireless Controller, or the Nintendo Switch Pro Controller, as well as a variety of third-party controllers. Some controllers use a 2.4GHz wireless connection with an included USB adapter, which typically offers lower latency and better range than standard Bluetooth controllers. For a simple plug-and-play solution, you can also opt for a wired USB controller if you're close enough to your ROG Ally or docking station.
 Latest Downloads
 Downlaod


 Top News